安装
This page will walk you through the process of installing QuickShop-Hikari on your PaperMC server.
环境需求
- A Paper-based Minecraft server (1.20 or higher, Java 21)
- Vault,用于连接 QuickShop 和您的经济插件。
- For virtual item displays, and per-player localization you need a supported protocol library:
- 任何兼容 Vault 的经济插件,例如 XConomy。如果你已经安装了 EssentialsX 可直接使用其内置的经济系统。
- 一个权限管理插件,例如 LuckPerms.
在这篇教程中,我们假定您正在使用最新版本的 QuickShop-Hikari、ProtocolLib、XConomy、Vault 和 LuckPerms,并且使用 Windows 11 操作系统(Linux 基本相同)。
安装前置依赖
Before installing QuickShop-Hikari, you should make sure that you have all dependencies installed, including Vault, ProtocolLib or PacketEvents, XConomy (or EssentialsX if you want) and LuckPerms!
下载以上插件并将它们放入 plugins 文件夹即可!
Configuring the Display Protocol
If you have both ProtocolLib and PacketEvents, and you want to utilize PacketEvents for your display items, you'll need to set it as such in config.yml: shop. display-protocol: 'packetevents'
Installing QuickShop-Hikari
Download the latest version of QuickShop-Hikari from Modrinth, if you find multiple files that have Compat- prefix in file name, ignore them in this step.
The only file you need to download should have a Primary tag like this in the image below:

Drop the QuickShop jar into your plugins folder, start the server, then execute qs in the console. If you properly installed the plugin, a command help page will pop-up like this in the image below:
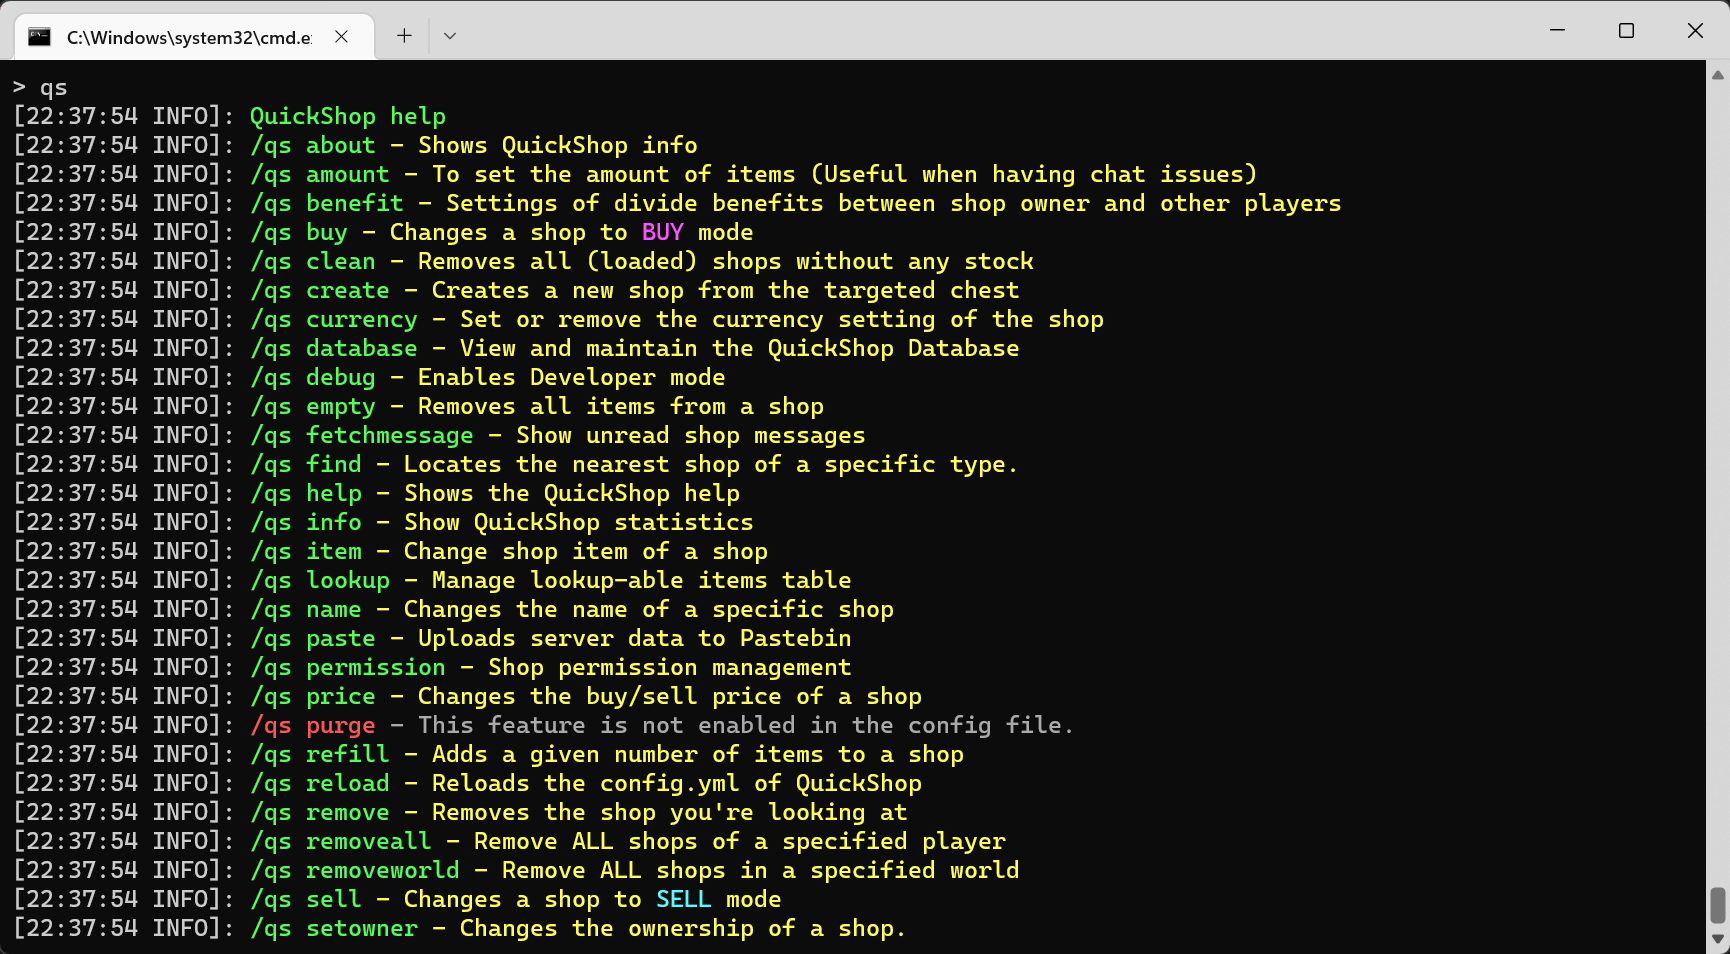
If you see any errors in the output, you can read the FAQ section or join our Discord support server and ask them in the #qsh-support channel.
Configure QuickShop to allow players to use it
By default, players are unable to create shops.
To allow players to create and own shops, you must grant the necessary permissions to them.
Fortunately, for most of the users, all you need to do is to run a simple command:
/lp group default permission set quickshop.player true
and you're done! Players are now able to create and use shops, they will also have access to other features.
For advanced permission setup, you can check here.
All set! You are good to go!
Now QuickShop-Hikari is running on your server, for more settings, check the navigation panel on the left and see different sections.